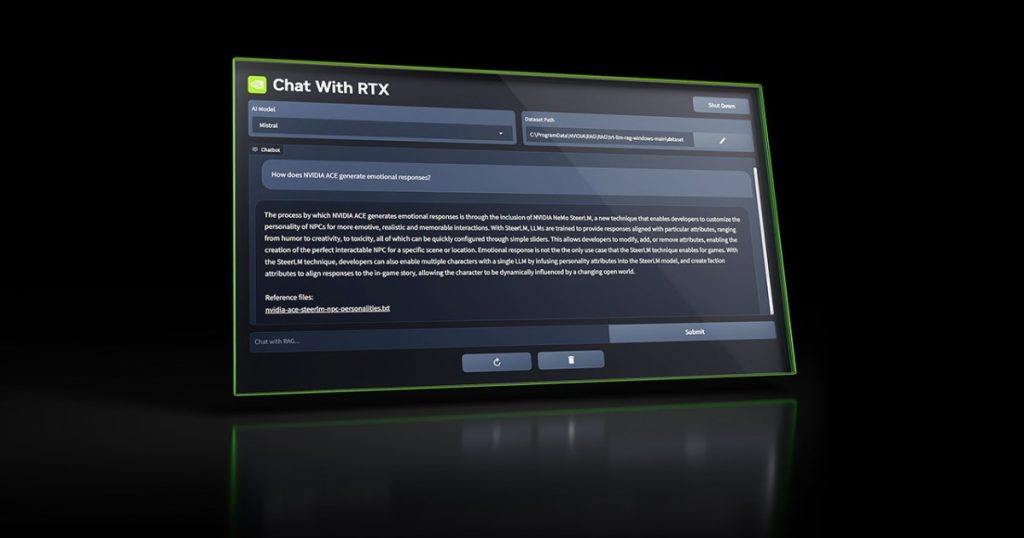
Following the massive success of ChatGPT, the tech world has anticipated a local AI chatbot capable of running disconnected from the cloud. Presenting the answer, Nvidia introduces Chat with RTX, a local AI chatbot that enables users to leverage an AI model to process offline data.
This guide offers a walkthrough on setting up and utilizing Chat with RTX. Given that this is a demo, expect some bugs as you navigate the tool. Nonetheless, it will pave the way for more local AI chatbots and other AI tools.
How to download Chat with RTX
The initial step is to download and configure Chat with RTX, which is somewhat more complex than expected. To begin, you’ll need to run an installer, which may encounter some issues, besides fulfilling minimum system requirements.
You will require an RTX 40-series or 30-series GPU with at least 8GB of VRAM, a system RAM of 16GB, a disk space of 100GB, and Windows 11 operating system.
Step 1: Download the Chat with RTX installer from Nvidia’s website. The compressed folder is about 35GB in size, so the download might take a while.
Step 2: Once the download is complete, right-click on the folder and choose “Extract all.”
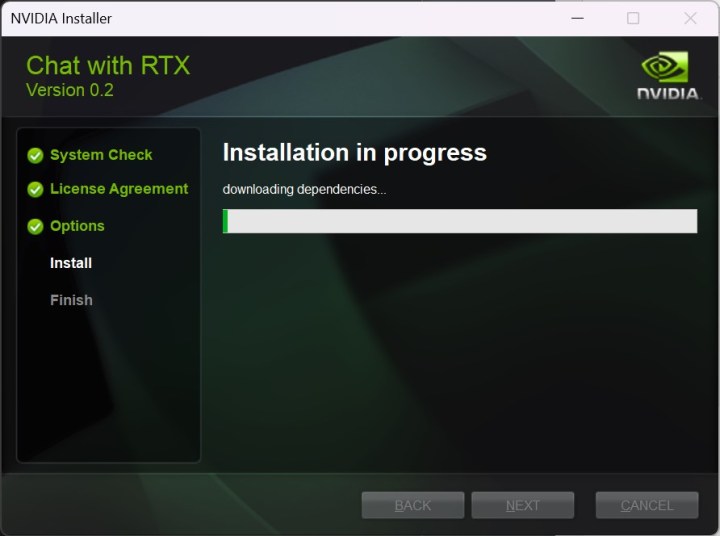
Step 3: Inside the folder, locate a couple of files and folders. Select “setup.exe” and proceed through the installation process.
Step 4: Before installation commences, the installer will ask you to specify the storage location for Chat with RTX. Ensure the selected location has at least 100GB of free disk space, as Chat with RTX downloads AI models.

Step 5: The installation might take around 45 minutes to complete, during which it can briefly hang or slow down the PC. It’s advisable to step away while the installation finishes.
Step 6: If the installation fails, rerun the installer and choose the same data location as before. The installer will pick up where it left off.
Step 7: Upon completion, a shortcut to Chat with RTX will appear on your desktop, and the app will open in a browser window.
How to use Chat with RTX with your data
The key feature of Chat with RTX is the ability to use your own data. It utilizes retrieval-augmented generation (RAG) to scan documents and provide answers based on their content. While Nvidia includes some sample data, unlocking the full potential of Chat with RTX requires adding your personal data.
Step 1: Create a folder to store your dataset and take note of the location for reference. Chat with RTX currently supports .txt, .pdf, and .doc files.
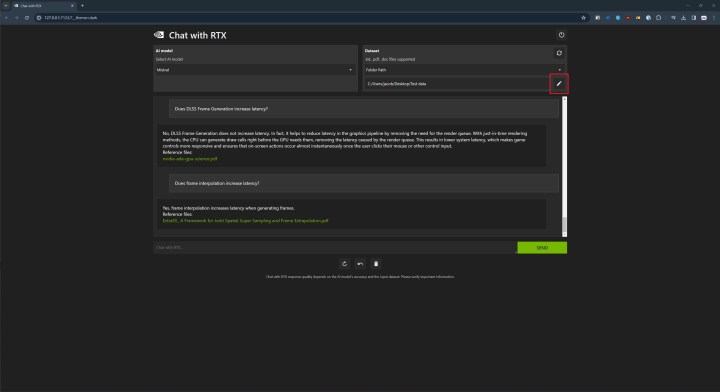
Step 2: Open Chat with RTX and click the pen icon in the “Dataset” section.

Step 3: Navigate to the folder where you stored your data and select it.
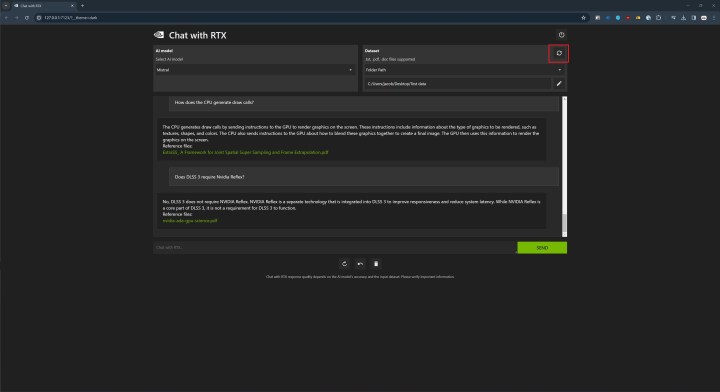
Step 4: In Chat with RTX, click the refresh icon in the “Dataset” section to regenerate the model based on the new data. Each time you add new data to the folder or select a different dataset, you’ll want to refresh the model.


