For peak performance and access to the latest features on your graphics card, it’s crucial to have the most up-to-date GPU drivers installed. These drivers optimize new games, fix bugs, and can enhance the overall performance of your card. In this easy guide, we provide a two-step process for installing and upgrading GPU drivers on Windows 10.
Below, you will find steps specific to the best graphics cards from Nvidia and AMD.
Before You Begin: Identify Your GPU
Before proceeding with the installation or upgrade of your GPU drivers, it’s essential to know your GPU model. If you’re aware of your graphics card or built your own computer, you can skip to the steps below. If you’re unsure about your card, it’s simple to find out which GPU you have.

Get your weekly breakdown of the latest tech behind PC gaming
Press Windows Key + S and enter System Information. Select the top result to access a window with detailed information about your computer. Under the Components menu in the left pane, choose Display. The main window will display information about your display and graphics card, including the model under the Name item.
You can also identify your GPU driver version in this window if you prefer to verify the version manually. However, both AMD and Nvidia offer software that can automatically detect outdated drivers.
Step 1: Install Graphics Card Driver Software
Nvidia and AMD provide graphics driver software that can detect your card and notify you of any available updates. These applications are user-friendly and highly recommended for seamless GPU driver upgrades in the future.
Nvidia GeForce Experience

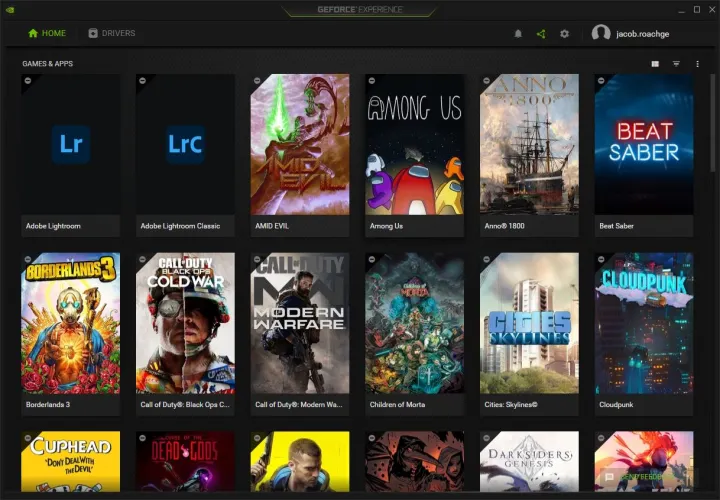
Nvidia’s graphics card drivers are available through GeForce Experience, which also offers additional features like game capture via ShadowPlay and automatic game optimizations for supported titles. Download GeForce Experience from Nvidia’s official website and follow the installation steps. Once installed, GeForce Experience will automatically detect your installed games on your PC.
If you prefer not to use GeForce Experience, you can manually update your graphics driver using Nvidia’s product search page.
Run the latest driver installer and choose to install the driver alone if desired, without GeForce Experience.
AMD Radeon Software

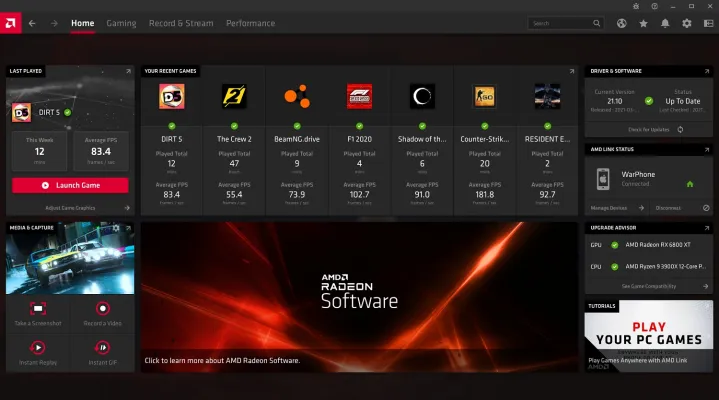
AMD’s drivers are accessible via Radeon Software, which offers various useful features for AMD graphics cards such as monitoring temperature, setting up a livestream scene, and utilizing features like Radeon Chill and Radeon Anti-Lag. Download the latest version of Radeon Software from AMD’s official website and follow the installation instructions.
Alternatively, you can locate your card manually and install the driver through Radeon Software. Perform a search using AMD’s product search tool and select the appropriate driver for your system.
Step 2: Install the GPU Driver
Once the software is installed, updating your GPU driver is a simple task. Both Nvidia and AMD software will automatically detect your system configuration and recommend the latest driver for installation.
Nvidia GeForce Experience

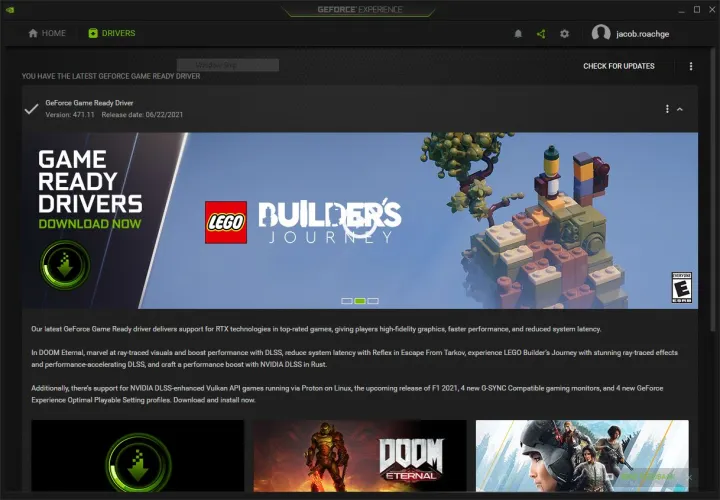
Launch GeForce Experience, navigate to the Drivers tab, and download the most recent driver available. Click the three dots in the upper right corner and select Game Ready Driver, then click Check for Updates to ensure you’re getting the right driver version. Proceed by clicking the Download button and follow the installation process.
AMD Radeon Software

In AMD’s Radeon Software, access the Settings icon and select Check for Updates under the Software & Driver section to find and install the latest drivers. Set up automatic driver installations by enabling the appropriate options in the software settings. Ensure your Preferred Software Version is set to Recommended.
Using Intel Graphics?
This guide caters to Nvidia and AMD graphics card users. If you have Intel integrated graphics, you can find the most recent drivers on Intel’s software download page.


