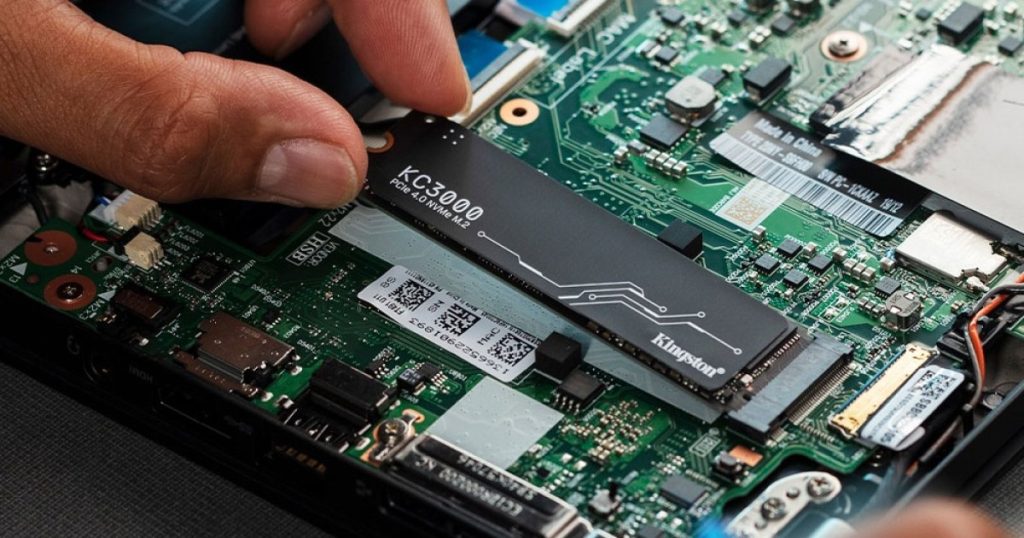
Upgrading your laptop’s storage to a modern SSD can significantly improve its performance and user experience. Whether replacing an old hard drive or upgrading to a faster NVMe SSD, the process can transform a sluggish laptop into a speedy machine.
While not all laptops allow for easy SSD replacement, for those that do, the procedure can be completed in just a few minutes. Here’s a guide on how to install an SSD in your laptop.
Note: Installing an SSD in your laptop is relatively straightforward but carries a slight risk of damaging components. Proceed with caution and carefully follow all instructions.
How to pick the right SSD
Before installing a new SSD, ensure you choose a compatible and high-quality one based on factors like size, storage capacity, connections, and budget. Check out our guide on how to buy an SSD for detailed assistance.
Back up your data
Prior to any storage modifications, it’s essential to back up important data such as work files, personal photos, and game saves to an external SSD or cloud storage platform for safekeeping. This step is crucial to prevent data loss in case of accidental drive wipe or failure during installation.

How to install an SSD in your laptop
Find a well-lit, level surface to work on and place your laptop upside-down with the power disconnected and battery removed, if possible. Locate the SSD compartment on the underside of your laptop, remove the screws, and access the storage bay for installation.
Step 1: If needed, remove the existing storage drive before installing the new NVMe or SATA SSD into the designated slot.
Step 2: Remove the old hard drive or SATA SSD by unscrewing it and disconnecting any cables. For NVMe drives, gently lift and remove the drive from its socket.

Step 3: Install the new SATA SSD by placing it in the storage bay and connecting the necessary cables. For NVMe SSDs, gently insert it into the socket and secure it with a retaining screw.
Step 4: Once installed, replace the storage bay panel, screws, and power up the laptop to check if the new drive is recognized. Troubleshoot if necessary by referring to our guide on laptop boot issues.
Step 5: If required, install Windows on the new SSD from a USB drive and update all necessary drivers and software for optimal performance.


