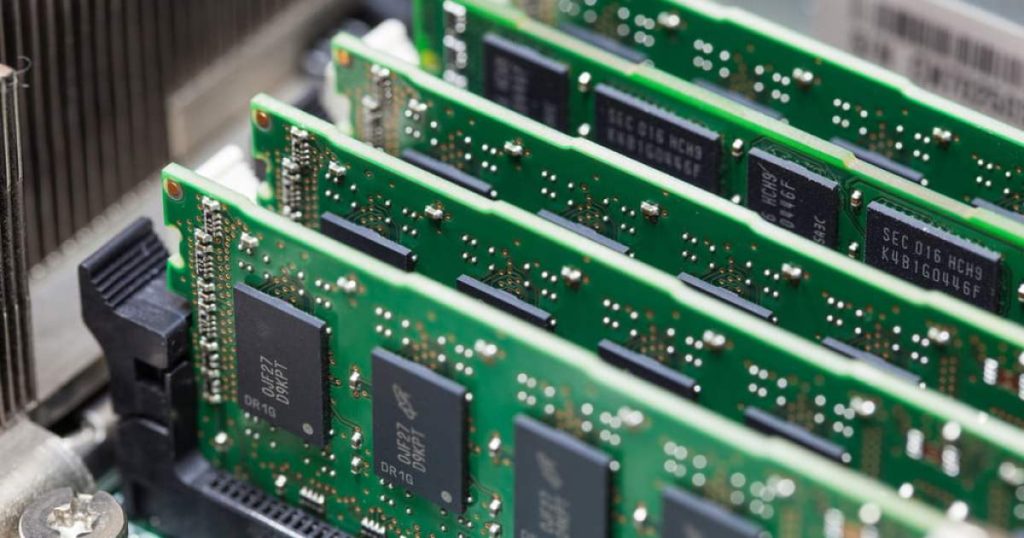
Enhancing your hardware performance, such as by enabling XMP, is crucial for demanding tasks like gaming. Memory plays a key role in improving video quality and speed.
Even if you understand RAM and its functions, it often doesn’t run at its advertised speeds. That’s where XMP (Extreme Memory Profiles) comes in to boost performance.
Prior to enabling XMP, it’s essential to check your memory’s current clock speed. Access the Task Manager on Windows to view this information.
If your RAM is running below its maximum speed, like our Geil 8GB DDR4 example, it’s time to enable XMP to unleash its potential.
How to Activate XMP from BIOS
Step 1: Access your motherboard’s BIOS by rebooting your PC and entering the appropriate key during the splash screen.
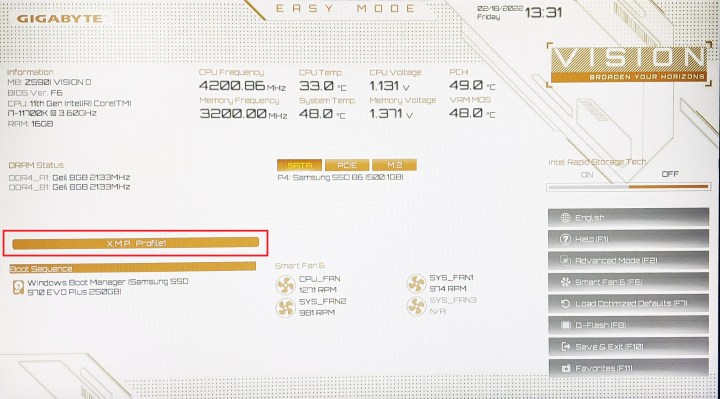
Step 2: Locate the XMP settings in the BIOS, which may require switching to Advanced Mode for full access.
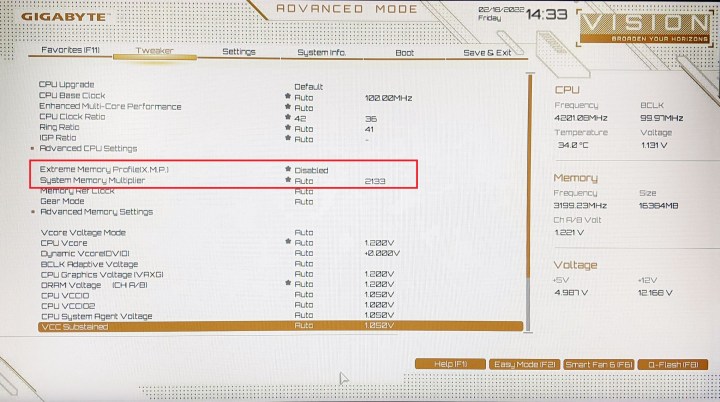
Step 3: Some BIOS screens, like on Gigabyte and ASUS motherboards, highlight XMP under the Tweaker or Extreme Tweaker tab.
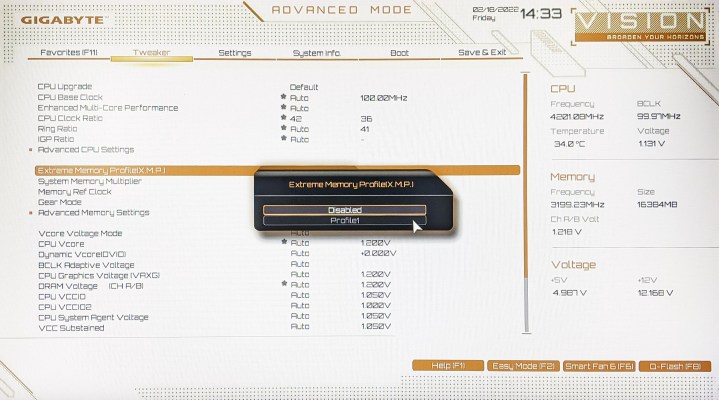
Step 4: Enable XMP and select the desired profile for optimal memory speeds.

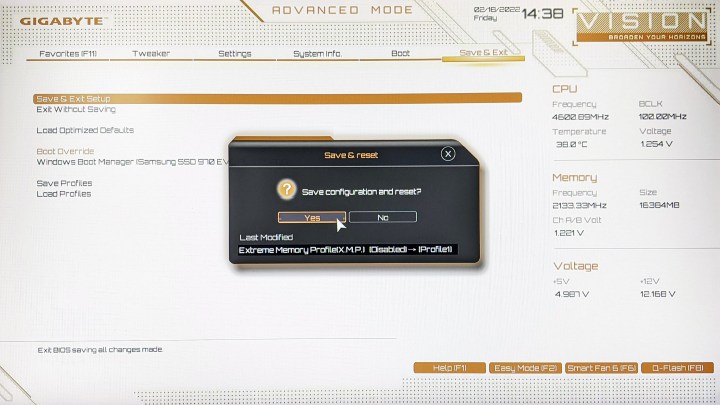
Step 5: Save changes and exit the BIOS to activate XMP and experience improved memory performance.
Frequently Asked Questions About XMP
What is XMP?
XMP (Extreme Memory Profiles) are pre-defined profiles developed by Intel to simplify and improve memory overclocking beyond standard specifications.
Does all memory support XMP?
Not all memory modules support XMP, as some rely solely on JEDEC profiles. It’s essential to check compatibility before purchasing new memory.
Should you enable XMP?
If your hardware supports XMP, enabling it can enhance memory performance without significant risks to your system.
Can XMP damage the CPU?
Enabling XMP involves a slight overclock and increased voltage, which can impact the CPU. However, the risks are minimal, and reverting changes can resolve any stability issues.

