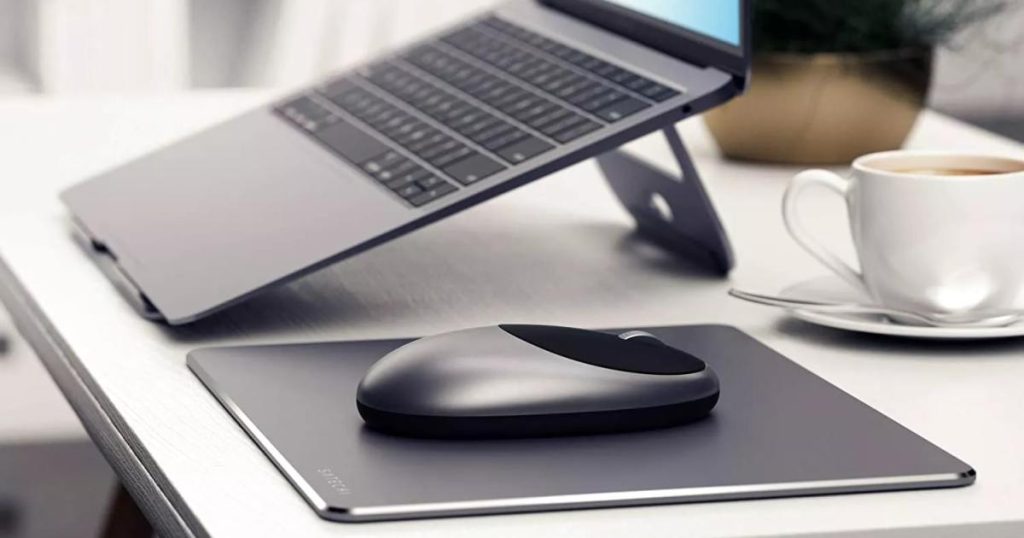
To connect a wireless mouse to your laptop, you’ll need to pair it using Bluetooth or connect it to the bespoke USB receiver it came with. It’s also possible to connect it to multiple devices using each method, making it easy to switch between them.
Here’s a step-by-step guide on how to connect a wireless mouse to your laptop.

How to connect a wireless mouse using its USB receiver
Most high-end wireless mice and wireless gaming mice come with their own USB receiver for a lower latency connection with your PC and reduced signal interference compared to Bluetooth.
Step 1: Plug the USB receiver into a free USB port on your laptop. If you don’t have a compatible USB port, consider buying an adapter or docking station to expand port options.
Step 2: Download the latest drivers from the manufacturer’s website to ensure proper connectivity and performance.
Step 3: Turn on your wireless mouse. It should connect automatically, but you may need to use the manufacturer’s software for some models.

How to connect a wireless mouse using Bluetooth
Whether your mouse primarily uses Bluetooth or offers Bluetooth support, the connection process is the same.
Step 1: Enable Bluetooth on your laptop and turn on the mouse. Follow the steps based on your operating system.
Step 2: Put your Bluetooth mouse into pairing mode as needed.
Step 3: Complete the pairing process on your laptop to connect the Bluetooth mouse.
Connecting a wireless mouse via Bluetooth follows a similar process to other Bluetooth devices. Check out how to connect a Bluetooth speaker using similar steps.


