Having the latest graphics drivers is crucial for Nvidia GPU owners, and Nvidia’s GeForce Game Ready drivers are often the go-to choice. These driver updates can improve performance and stability, making it essential to know how to update them efficiently. In case something goes wrong with the latest driver, it’s equally important to know how to uninstall it and start fresh with a new installation.
You don’t need third-party tools to update or uninstall your Nvidia Game Ready drivers, although there are helpful tools available. All you need is a Windows PC and a few minutes of your time. In this guide, we’ll walk you through both processes to ensure that updating your graphics card driver is always a hassle-free experience.
How to Update Game Ready Drivers with GeForce Experience
Nvidia’s GeForce Experience is the simplest way to update your Game Ready drivers. This tool allows you to update drivers, optimize game settings, and record gameplay. However, it does not support rolling back drivers. If you want to learn how to roll back drivers, refer to our separate guide.
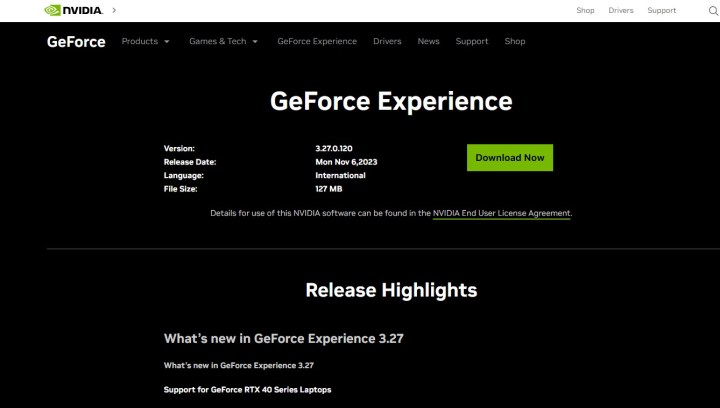
Step 1: Download and install Nvidia GeForce Experience from the official Nvidia website. Follow the installation instructions and create an account.
Once installed, launch the tool, and it should automatically detect your GPU.

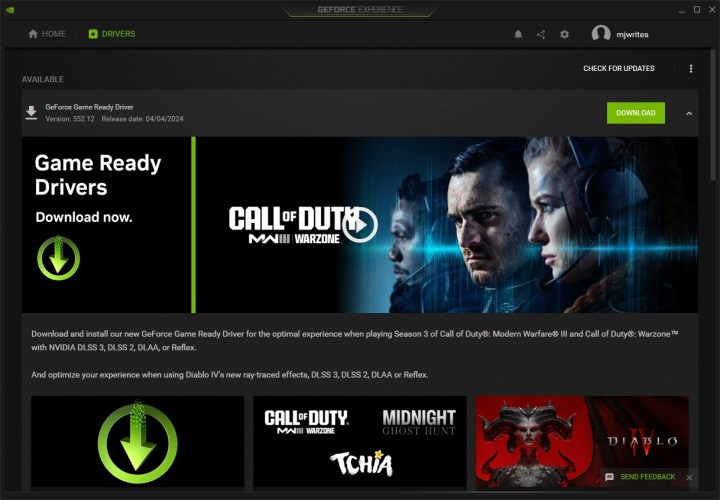
Step 2: Updating your drivers through GeForce Experience is straightforward. Switch to the Drivers tab at the top-left corner. Click on Check for updates and let the tool find drivers that match your GPU.
Ensure that you select the Game Ready driver and not the Studio driver by clicking on the three vertical dots next to Check for updates. Finally, click on Download to get the driver.


Get your weekly teardown of the tech behind PC gaming


