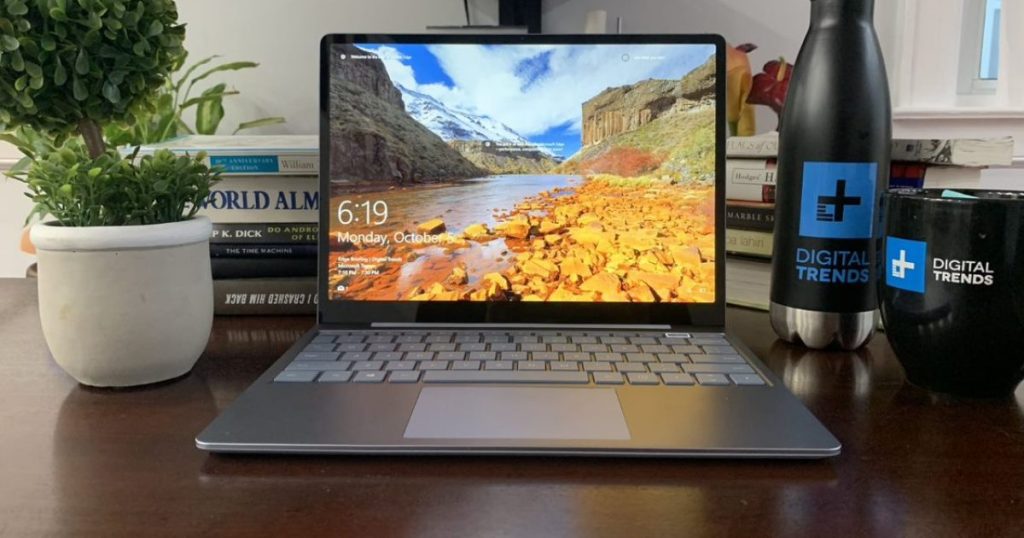
Customizing the screen resolution setting on your Windows PC is easier than you think. Along with various other device personalization options, you have the flexibility to adjust screen resolutions on Windows PCs. Whether you are using Windows 11, Windows 10, or Windows 7, we’ll guide you through the process of adjusting screen resolutions.
Adjusting Screen Resolution in Windows 11
Step 1: Access the Windows 11 Settings app.
Step 2: Click on Display.
Step 3: Select the display you wish to change the screen resolution for. If you have multiple displays, they will be labeled as “1” or “2”. If not, proceed to step 4.
Step 4: Navigate to the Scale and Layout section, click on Display Resolution, choose a resolution, and then click Keep changes.
Adjusting Screen Resolution in Windows 10
Step 1: Open the Windows 10 Settings app.
Step 2: In the Settings app menu, select System and then choose Display.
Step 3: Scroll down to the Scale and Layout section.
Step 4: Click on the drop-down menu in the Display Resolution subsection, pick your desired resolution, and confirm by clicking on Keep Changes.
Adjusting Screen Resolution in Windows 7
Step 1: Go to the Control Panel.
Step 2: Under Appearance and Personalization, select Adjust Screen Resolution.
Step 3: Choose the desired resolution from the drop-down menu and click Apply.
Step 4: Confirm your changes by selecting Keep. If you prefer the old resolution, choose Revert.
Finally, it’s worth noting that Microsoft discontinued support for Windows 7 on January 14, 2020. For continued security updates and support, we recommend upgrading to Windows 10. If you need assistance with this transition, you can find a helpful guide here.
Editors’ Recommendations


