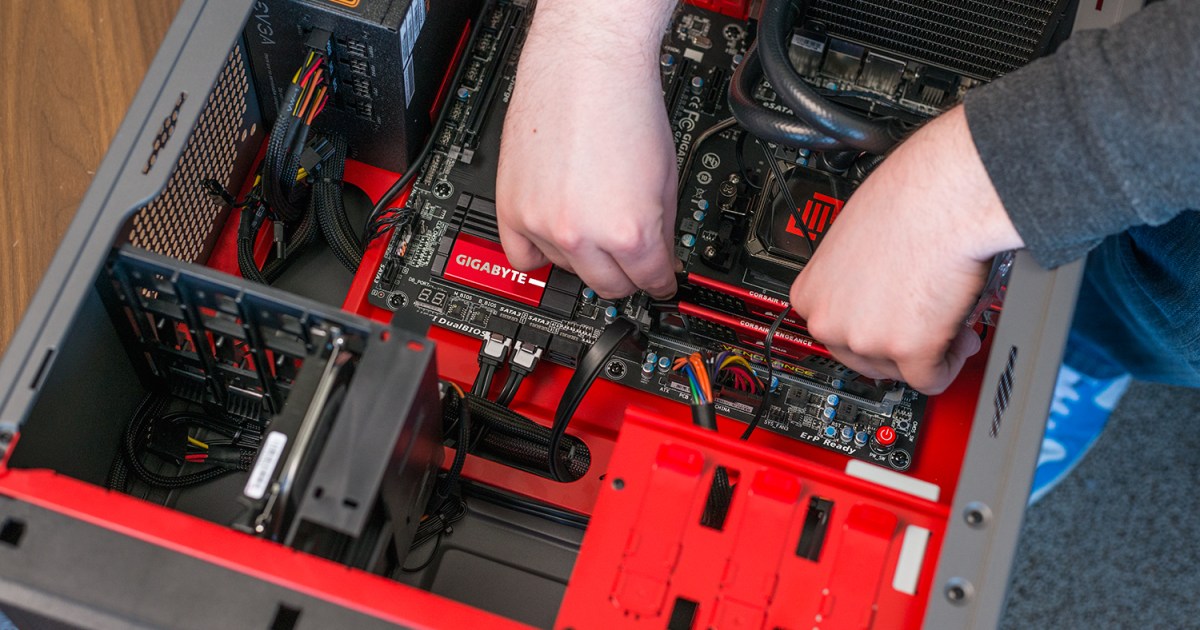
Building a PC from scratch may seem intimidating at first, with all the different components to consider. However, the process is surprisingly straightforward, especially for beginners who are comfortable with a screwdriver and basic cable connections. With the right components and some time and patience, building a powerful desktop computer that can handle demanding games and software is achievable.
While building a PC is not a quick task and may take a few hours, the end result is worth it. To get started, make sure you have all the necessary components, proper safety gear, and a clean workspace. Use resources like PCPartPicker to ensure compatibility between components.
What you need to build a PC
Below are the core components required to build a PC:
- Case
- CPU
- CPU cooler
- Motherboard
- RAM
- Solid state drive (SSD) and/or hard drive
- Power supply
- Graphics card
Before you get started, make sure you have all your components in order and a clean, spacious workspace to assemble your PC.
Safety first
When building a PC, take precautions against static electricity, which can damage components. Consider using an antistatic wristband or touching the case frequently when handling components. Work on a bare floor with rubber-soled shoes to minimize static buildup and ensure components are well-grounded.
Opening the case
Prepare your case by removing the side panel for easy access to the interior. Be mindful of any loose parts inside the case and clear them out before proceeding with the installation.
How to install the power supply
The power supply is typically installed at the rear of the case, with the fan facing down to draw in cool air from outside. Secure the power supply with appropriate screws and connect the necessary power cables.
How to install the processor
Carefully handle the processor and align it correctly in the CPU socket on the motherboard. Lock the CPU in place using the retaining arm, ensuring it is properly seated before securing it.
How to install RAM
Insert the RAM sticks into the designated slots on the motherboard, applying firm pressure until they click into place. Make sure to follow the motherboard’s manual for the correct installation configuration.
How to install the motherboard
Screw the motherboard onto the case standoffs to prevent shorting. Connect the main power cable and front panel buttons to the motherboard, ensuring a secure and stable connection.
How to install the CPU cooler
Apply thermal paste to the CPU before installing the CPU cooler. Attach the cooler to the CPU, making sure it is securely fastened. Connect any additional fans or cooling components as needed.
How to install the graphics card
Slide the graphics card into the PCIe slot on the motherboard and secure it in place with screws. Connect any additional power cables required for the graphics card to function properly.
How to install expansion cards
Install other expansion cards, such as networking or sound cards, following a similar process to the graphics card installation. Secure the cards in the PCIe slots and connect any necessary power cables.
How to install hard drives and SSDs
Mount and connect hard disk drives, solid-state drives, and M.2 NVMe SSDs to the appropriate slots on the case or motherboard. Secure the drives in place and connect the necessary power and data cables.
Turn the PC on
Power on the system and check for the post screen or manufacturer logo to confirm successful boot-up. Install Windows, update drivers, and ensure all components are functioning correctly before regular use.
Don’t forget peripherals
Remember to complete your setup with essential peripherals like a keyboard, mouse, and monitor to fully enjoy your new PC.
With attention to detail and careful assembly, you’ll have a fully operational PC ready for use. Keep an eye on system temperatures and be prepared to troubleshoot any issues that may arise. Enjoy your new custom-built PC!
Editors’ Recommendations


