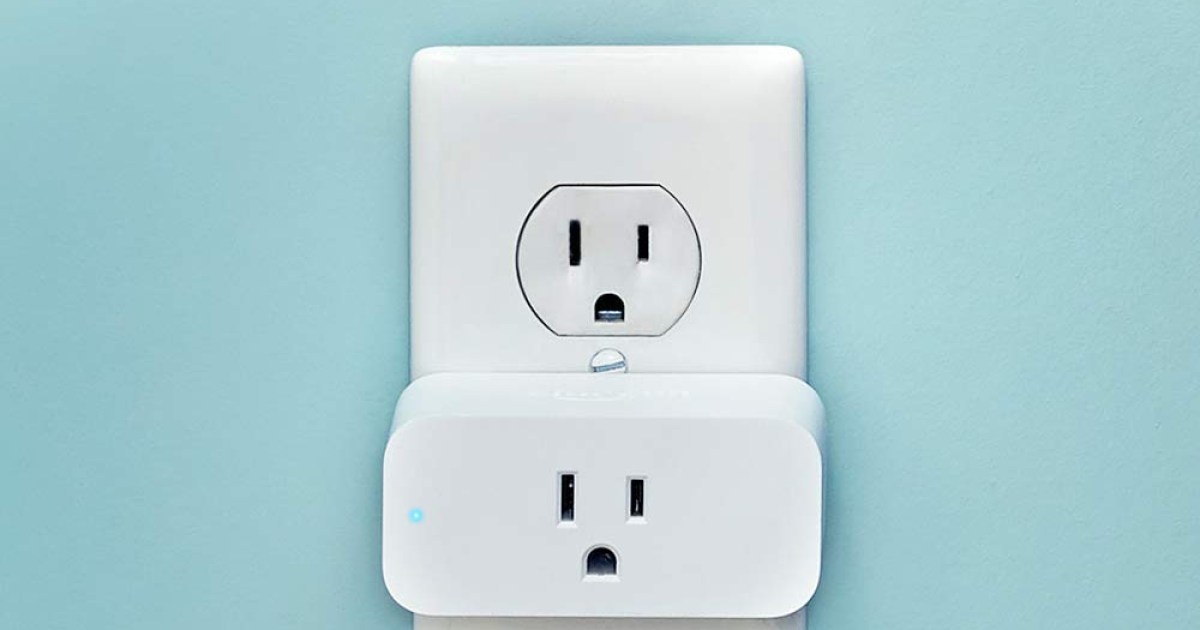
Smart plugs are a great way to add some automation to your electronic devices, and the Amazon Smart Plug is one of the most versatile and affordable options available. One of its standout features is the ability to set timers for powering devices on and off at specific times. If you’re interested in learning how to use this feature, here’s a detailed guide on how to set a timer on your Amazon Smart Plug.
Add the Amazon Smart Plug to your Alexa app
Before you can start setting timers on your Amazon Smart Plug, you’ll need to sync it with your Alexa app. If you’re unsure how to do this, refer to the instructions that came with your purchase or check out our guide on setting up Alexa devices. Once your Smart Plug is synced, you’re ready to set timers.
How to set a timer for Amazon Smart Plugs
Setting up a timer for your Amazon Smart Plug is a straightforward process, albeit requiring a few steps. After syncing your Smart Plug with the Alexa app, follow these steps:
Step 1: Open the Alexa app.
Step 2: Select the More option at the bottom of the screen.
Step 3: Select Routines.
Step 4: Click the large plus icon to create a new Routine.
Step 5: Name your Routine, for example, Smart Plug On.
Step 6: Click When this happens and select Schedule.

Step 7: Choose the time you want your Smart Plug to turn on and set the repeat schedule if needed. Then click Next.
Step 8: Select Add action and click Smart Home.
Step 9: Choose your device (Amazon Smart Plug) and toggle it on.
Step 10: Review your settings and click Save to finalize.
Step 11: Repeat the process to create a Smart Plug Off Routine.
Once you’ve set up your Routines, you can preview and ensure they work as intended. Despite seeming complex, the process becomes straightforward once you’re familiar with it.
Editors’ Recommendations


