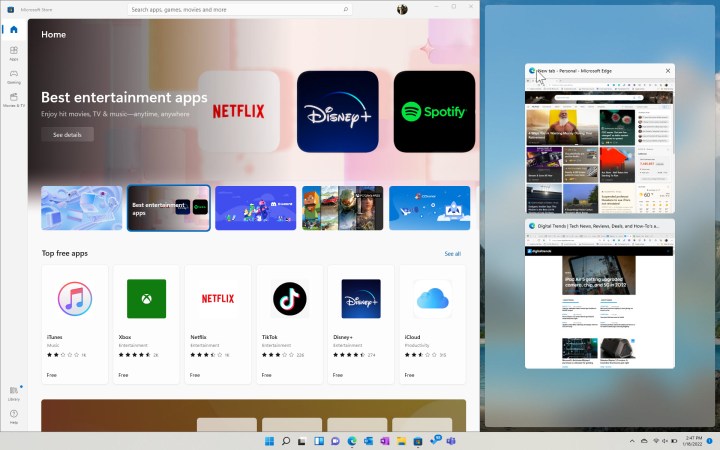
Windows 11 is a powerful operating system known for its productivity features. One of the standout capabilities is its ability to snap windows in different configurations, making multitasking a breeze and enhancing efficiency when managing multiple applications.
However, to fully benefit from Windows 11’s split screen features, it’s important to know how to utilize them effectively. In this guide, we will walk you through using the operating system’s split screen tools, including Snap Layouts and Snap Assist. Additionally, we will provide instructions on how to disable Windows 11’s split screen features if you decide they are not suitable for your workflow.
Here’s how you can split your screen on Windows 11:
Using Snap Layouts
Snap Layouts are a new and powerful way to initiate Snap Assist in Windows 11. They offer a variety of layout options to make working with multiple windows more convenient and efficient.
Step 1: Hover your mouse over a window’s Maximize button to reveal a grid with multiple arrangement options for up to four windows.
Step 2: Select a layout option to split and display your windows accordingly. For example, choosing a two-window layout with one side wider than the other.

Manually using Snap Assist
Turning Snap Assist on and off
Frequently asked questions
What is the shortcut to split screen on a Windows 11 laptop?
How do you split screens on Chromebooks or Macs?
What is Task View in Windows 11?
Editors’ Recommendations


