The Steam Deck is a highly emulator-friendly system, and with some useful tips and tricks, you can easily set up and run emulators on the Steam Deck in just a matter of minutes. Valve, the creator of the Steam Deck, understood the appeal of emulation for gamers looking to relive classic games from the past. That’s why the Steam Deck is designed to allow you to choose and run emulators right out of the box.
Disclaimer: Emulation exists in a legal gray area, as obtaining ROM files for playing games from legitimate sources is often challenging. We do not support or condone the illegal downloading of games you do not own, nor can we guarantee the safety and legitimacy of ROM files downloaded from unofficial sources.
How to Set Up Emulators on the Steam Deck
Step 1: Power on your Steam Deck. Once it’s operational, press and hold the Power button located on the top-right of the device for a few seconds. When a menu appears, select Switch to desktop. This action will restart the Steam Deck in Desktop Mode, where you can make necessary changes. While connecting the Steam Deck to a larger monitor and using a mouse/keyboard can make navigation easier, it is not mandatory.
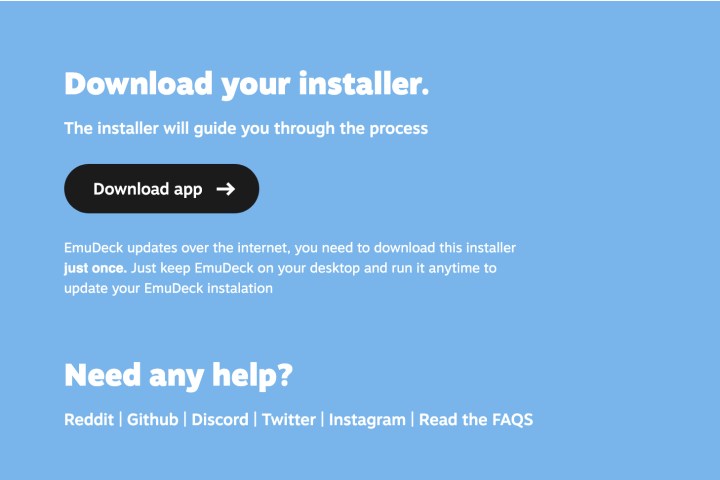
Step 2: The Discover app on the Steam Deck offers various emulators ready for download. However, the process can become complex quickly. To simplify things, we recommend using a shortcut, such as the EmuDeck program. EmuDeck streamlines the installation and configuration of emulators, particularly RetroArch, a frontend infrastructure that pairs well with the Steam Deck. Visit this webpage and click on the Download app button to begin. Alternatively, you can access it directly at emudeck.com/#download.

Step 3: Launch the EmuDeck file in Desktop Mode and run it to initiate the installation process. EmuDeck will guide you through a setup wizard for configuration. Follow the instructions carefully. At some point, you will be prompted to run the Steam ROM Manager, which EmuDeck should facilitate. In case of emulator overwrites, you can select to overwrite all unless you have made customizations with a specific emulator in the list previously.

Step 4: When prompted, choose Preview and then opt for Generate app list. EmuDeck will then begin creating a library of classic games along with images and critical data. Once the process is complete, select Save app to finish. This step may take some time, so be patient as the Steam Deck processes it.
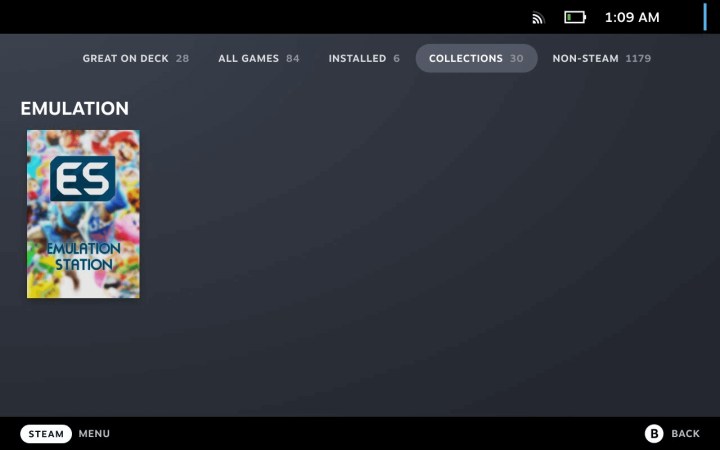
Step 5: Close all applications and click on the Return to game mode icon in the top-left corner. In your Steam Library, a new Emulation collection with the EmulationStation app should now be visible and ready for use.


