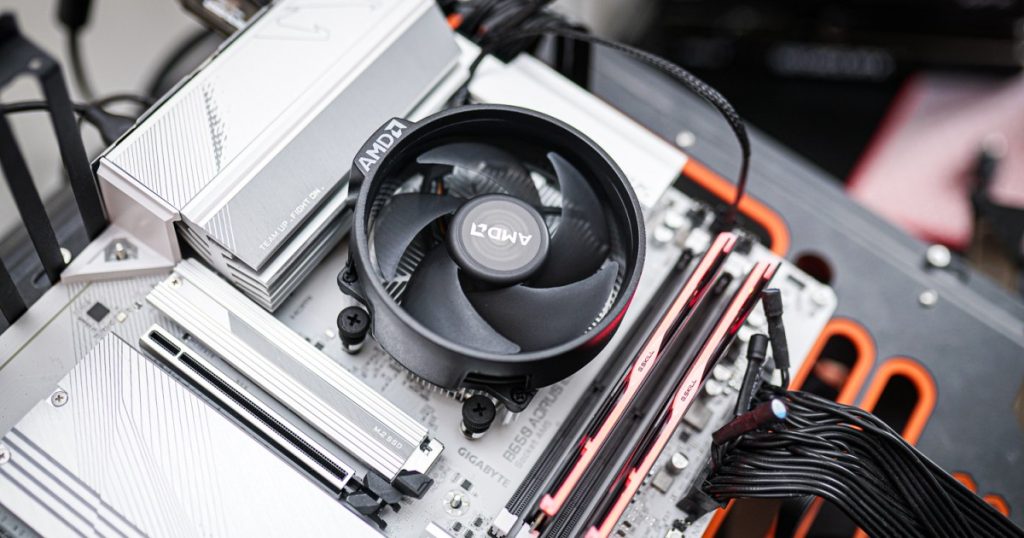
If you’re feeling a bit nervous about installing a CPU cooler, don’t worry, it doesn’t have to be scary. Once you get the hang of it, it’s actually one of the easiest PC upgrades you can do. Here’s how to do it:
How to Remove an Old CPU Cooler
Before you install your new CPU cooler, you’ll need to remove the old one. The steps may vary depending on the type of CPU cooler you have, but here’s a general guide:
Step 1: Detach the cooler from its retaining brackets by undoing screws or unlatching a locking pin. You might need to remove the fan(s) first to access the screws or pins.
Step 2: Remove the old heat paste from the CPU. You can do this with the CPU in the socket, but it’s often easier to remove the CPU so that you can hold it while cleaning it with a lint-free cloth and isopropyl alcohol.
Step 3: Replace the CPU in the socket and lock it in place with the retaining arm.
How to Install the New CPU Cooler
Installing the new CPU cooler may be a bit more complex than removing the old one, but it’s still completely manageable. Here are some generic steps to guide you:
Step 1: Find the mounting hardware you need for your socket. If you’re installing an AIO cooler, make sure your PC has enough space to fit the radiator as well.
Step 2: Install the brackets and plates needed to mount your cooler. You may have to remove the existing backplate and possibly even the motherboard to access it.
Step 3: Do a dry mount of your cooler to ensure proper clearance from your memory and other components.
Step 4: Apply thermal paste to the CPU and position the cooler on top of it. Lock it in place using the retaining brackets, arms, or screws.
Step 5: For an air cooler, attach any necessary fans to the heatsink. For an AIO water cooler, mount the radiator carefully and attach the included fans.
Step 6: Double check all connections and mounting points, then replace any components you removed for access.
Step 7: Power on your PC and ensure that the fans are spinning correctly and, if using an AIO, that the pump is working. Check the CPU temperatures to verify proper installation.
By following these steps, you can safely and effectively install a new CPU cooler and enjoy the improved cooling performance it offers. Happy building!


