Samsung
Upgrading your PC with an SSD is a simple process, and we’re here to guide you through it. Follow the steps below, and you’ll have a new SSD installed in your PC in no time.
Here’s how to do it.
Buying the right SSD
Before installing an SSD, it’s essential to choose the right one for your PC. If you haven’t selected one yet, check out our guide on how to buy an SSD to ensure compatibility and optimal performance.
How to install an NVMe SSD in your PC
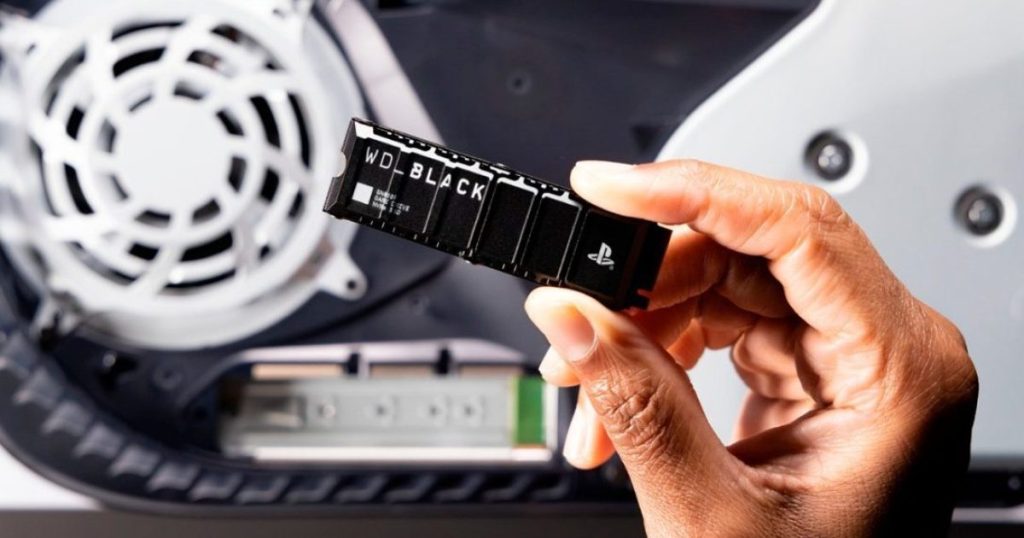
Most modern SSDs use the M.2 form factor and NVMe drives. Here are the steps to install an NVMe SSD in your PC:
Step 1: Shut down your PC, unplug all cables, and place it on a stable surface.
Step 2: Remove the case side panel using the rear screws.
Step 3: Ground yourself to prevent static electricity, then locate the NVMe SSD slot on your motherboard.
…
How to install a SATA SSD
If you’re installing a SATA SSD, follow these steps:
Step 1: Turn off your PC, unplug all cables, and locate a spare 2.5-inch drive bay.
Step 2: Secure the SSD in the bay and connect the SATA power and data cables.
Step 3: Boot up your PC and check if the SSD is detected in the BIOS and Windows.
…
For laptop storage upgrades, see our guide on installing an SSD in your laptop.


