If you’re new to Microsoft Word, this tutorial is a great starting point. Learn everything from navigating the Word window to saving your documents.
Note: This tutorial pertains to Microsoft Word for 365 on Windows, but the basic features are similar across versions. After installing your version of Word, you can begin following these instructions.
Creating a New Document
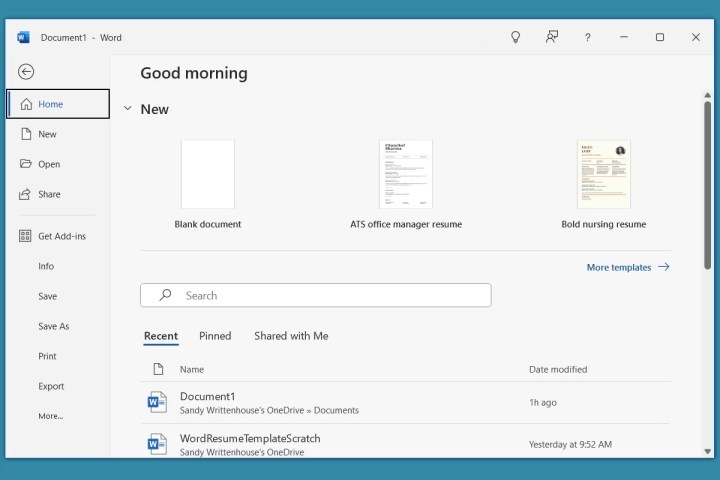
When opening Word, choose a blank document from the Home screen to get started with the application’s features.

Naming and Saving Documents
Learn to name and save your documents efficiently to avoid losing any work. You can also utilize the AutoSave feature available for Microsoft 365 subscribers.
- To name and save a document, go to the File tab and select Save.
- Choose a location, enter a name, and select Save.

Utilize the Save button in the Quick Access Toolbar to save your work periodically.

Using AutoSave
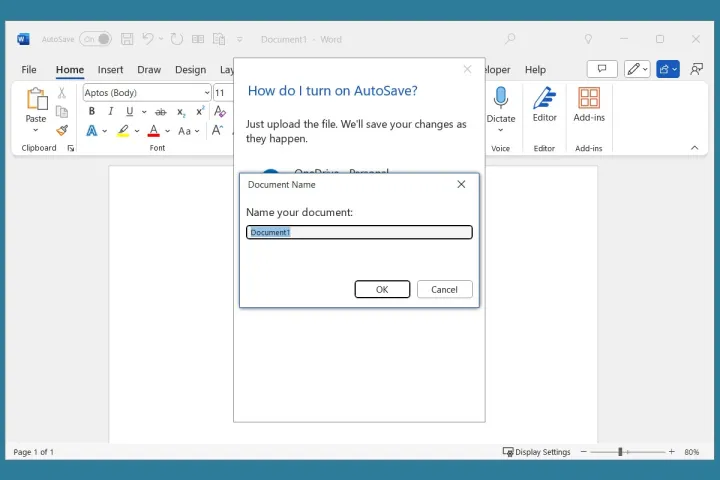
For Microsoft 365 subscribers, AutoSave automatically saves your document as you work. Follow the steps to enable this feature and ensure your work is always saved on OneDrive.
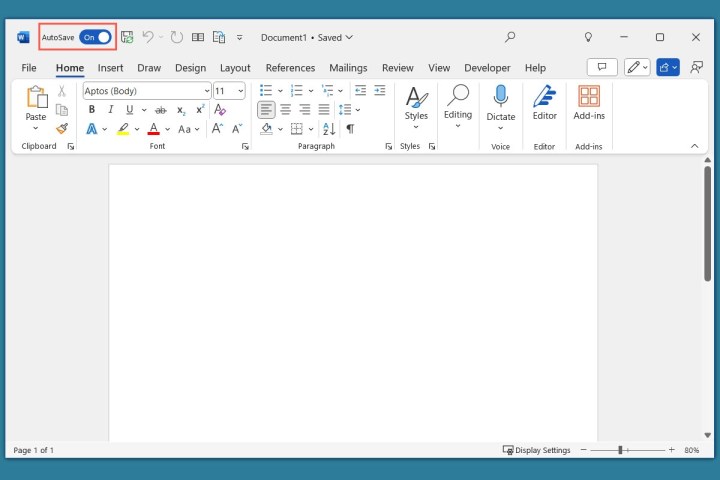
- Turn on the AutoSave toggle in the title bar.
- Choose a OneDrive account and name the file.

Once enabled, the AutoSave toggle will work in the background as you edit your document.

Get to Know the Interface
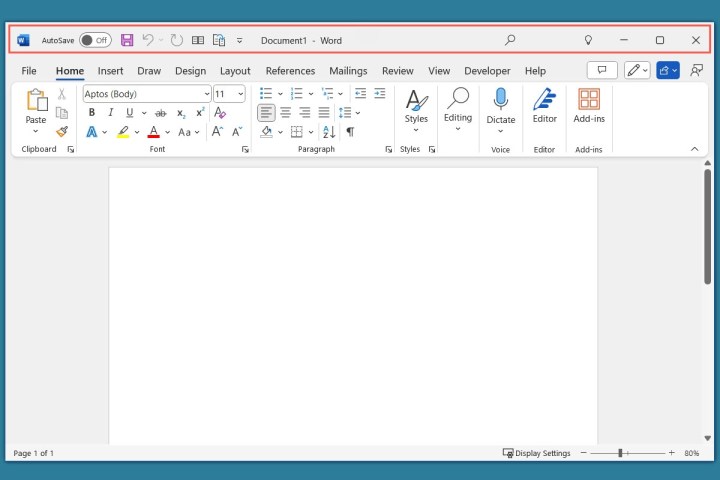
Familiarize yourself with the elements of the Word interface, including the title bar, tabs, ribbon, and status bar.

Explore each tab and its corresponding tools on the ribbon to efficiently create and format your documents.


