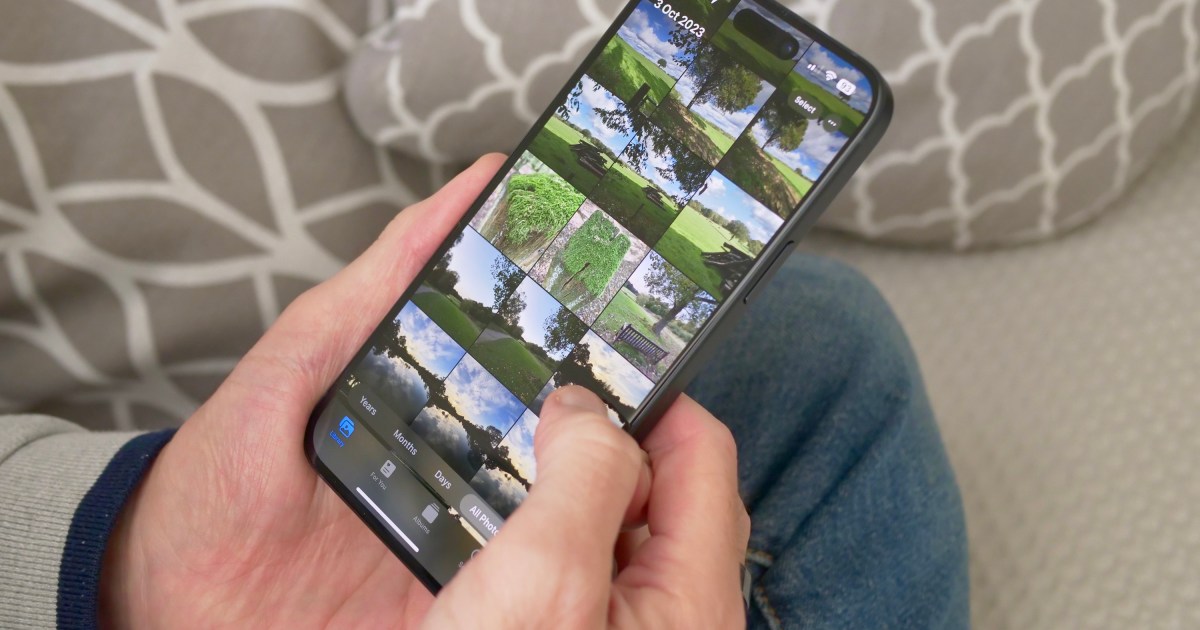
Having a backup of your iPhone photos is essential to avoid losing precious memories in case of device loss or damage. While iCloud and computer backups are handy, it’s always a good idea to have an additional backup. Apple offers several ways to transfer photos from your iPhone to your computer easily.
One simple method is using a USB cable to connect your iPhone to your Mac or PC. This method is fast and efficient, allowing you to download photos using built-in tools or third-party apps. It’s also faster than wireless methods, with newer iPhones supporting high-speed USB transfers.
Here’s how you can transfer photos to a Mac using a USB cable:
Step 1: Unlock your iPhone and connect it to your Mac using a USB cable.
Step 2: Trust the connection on both ends when prompted.
Step 3: Open either Photos or Image Capture on your Mac.
Step 4: Select your iPhone from the left-hand sidebar.
Step 5: Choose a destination folder for your photos and start the transfer.
Step 6: Transfer all photos or select individual ones for download.
For Windows PC users, a similar process can be followed after ensuring the presence of iTunes or Apple Devices app for driver support.
Alternatively, wireless methods like AirDrop, iCloud Drive, or Apple Handoff can be used for transferring photos without a cable. These methods allow quick transfers for a few photos at a time.
Synchronizing photos to your Mac or PC using iCloud Photos is another convenient option, especially if you have enough iCloud storage. This feature keeps your entire photo library synced across devices.
Other cloud services like Dropbox, OneDrive, Google Drive, Amazon Photos, and Synology Photos offer similar photo upload features, enabling easy transfer to your computer through their respective sync apps.
With these methods, you can ensure that your iPhone photos are safely backed up on your computer, providing peace of mind and easy access to your digital memories.


