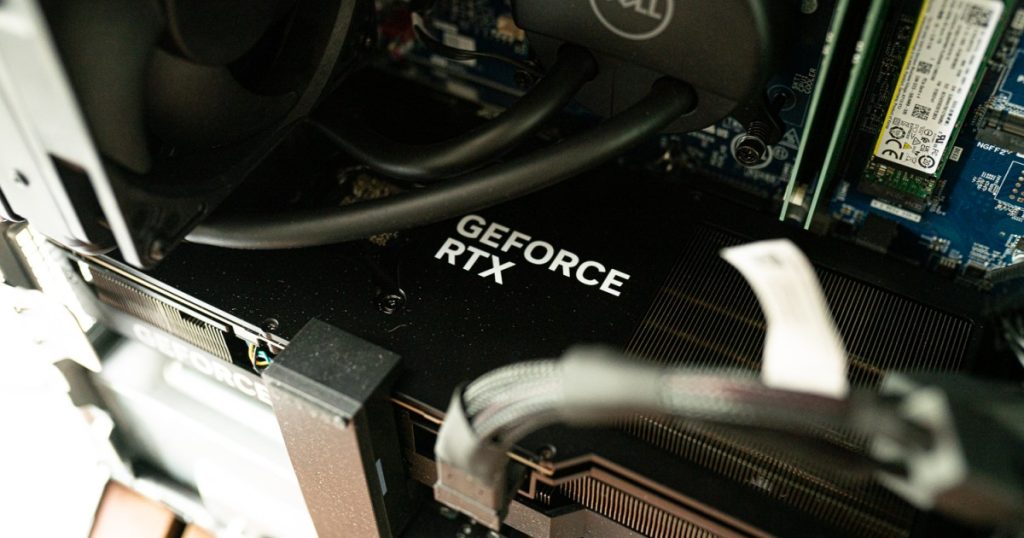
A Graphics Processing Unit (GPU), commonly known as a graphics card, is a crucial component of a computer, especially for gaming enthusiasts. Having a high-quality GPU is essential for achieving stunning graphics and smooth frame rates in PC gaming.
If you are looking to replace or upgrade your graphics card, you can do it yourself with the right knowledge and patience. To assist you in this process, we have created a comprehensive guide.
Before Starting
If you are removing an old graphics card, remember to uninstall the drivers first. In Windows 11, you can do this by pressing Windows Key + I to go to the Settings menu, then select Apps. Search for AMD or Nvidia display drivers, select them, and choose Uninstall. Once done, shut down your PC.
When working with computer components, take safety precautions by unplugging the power cable and using an antistatic wristband or working on a rubber mat. Have a screwdriver and a magnetic parts tray handy to keep track of screws during the process.
The Removal Process
Step 1: Remove the old graphics card from your PC if you have one installed.
Step 2: Disconnect the power cable(s) attached to the card.
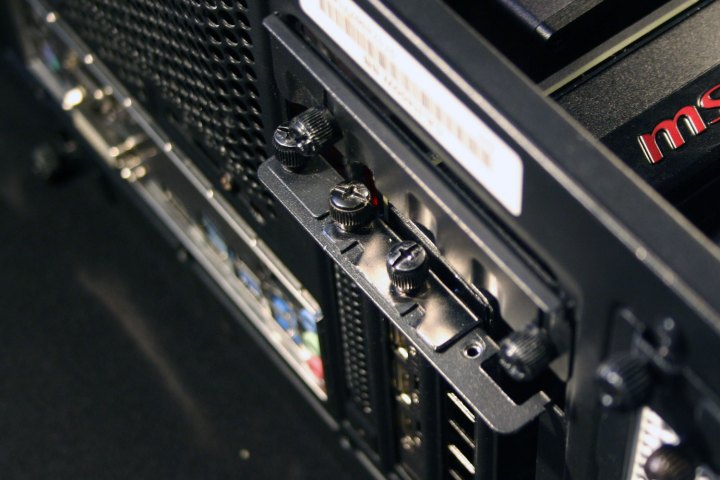
Step 3: Unscrew the card from the PCI Express backplate.
Step 4: Release the clip mechanism holding the card in place and carefully lift it out of the PCIe slot.
Step 5: Place the removed card on a non-conductive surface, preferably inside an antistatic bag.

Digital Trends
Removing the PCIe Backplate
Ensure there is enough space for the new graphics card in the PCIe backplate by removing any necessary backplates.


